Painter guide
What Prep Work Does an Old Queenslander Actually Need Before Painting?
What Prep Work Does an Old Queenslander Actually Need Before Painting?
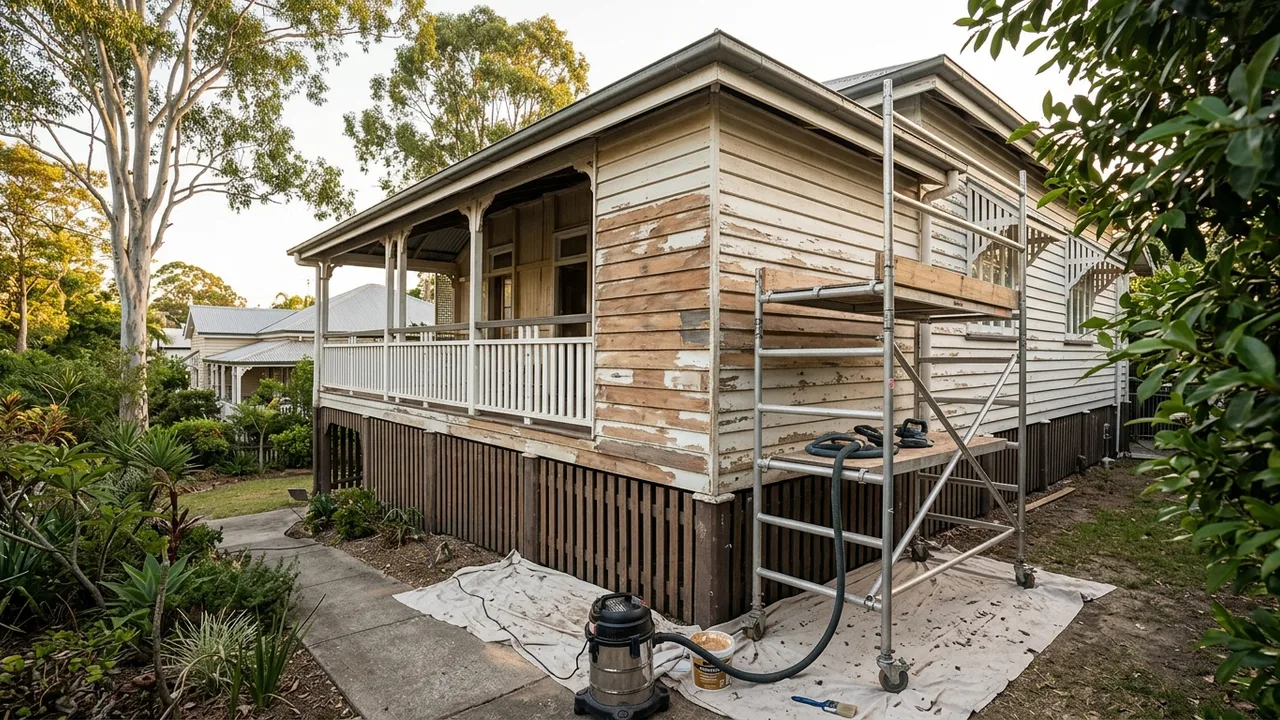
Honestly, more than most people expect. A Queenslander that gets a fresh coat of paint slapped over unprepared timber will look patchy within a year and start peeling within two. The prep is the job — the painting itself is almost the easy part.
This is not a knock on anyone who has tried to shortcut it. These houses are beautiful, but they are also demanding. Tongue-and-groove timber walls, wide verandas, louvred windows, ornate fretwork — each element traps moisture, holds old paint, and has its own quirks. Getting the surface right before a brush touches it is what separates a repaint that lasts eight to ten years from one that causes regret by the next wet season.
Why Timber Prep on a Queenslander Is Different
Brick and render homes have their own challenges, but timber is in a different league when it comes to prep. Queensland hardwood, particularly hoop pine and silky oak used in older Ashgrove and Bardon homes, is dense and relatively stable — but it still moves with Brisbane's humidity swings. It expands in the wet season and contracts in the dry. That movement means joints open, caulk cracks, and old paint lifts at the edges.

On top of that, many Queenslanders in the Inner West have had four, five, or more paint jobs layered over each other across decades. Some homes still carry lead-based paint under everything else, which changes how the prep needs to be handled (more on that shortly). The build-up of layers creates an uneven, sometimes brittle surface that will telegraph every flaw straight through your new topcoat if you do not address it first.
Pressure Washing and Initial Surface Cleaning
The first physical step is a thorough wash. Brisbane's climate means external timber accumulates mould, algae, lichen, atmospheric dust, and — especially in suburbs like Toowong, Bardon and Ashgrove with heavy tree canopy — a persistent layer of organic debris. Jacaranda season dumps a particular kind of sticky residue on anything left outdoors.
A pressure wash at the right pressure clears this material without driving water into the timber. Too aggressive and you raise the grain and force moisture into joints. Done properly, it strips the surface contamination and lets you see clearly what you are actually dealing with underneath.
After washing, the timber needs time to dry out fully before any sanding or priming begins. In Brisbane's humid months (roughly November through February), that drying time can be longer than people expect — typically at least two to three full days of dry weather, sometimes more if the timber is porous or north-facing walls have not been getting afternoon sun.
Identifying and Managing Lead Paint
Any Queenslander built before roughly 1970 should be treated as potentially containing lead paint. In practice, most homes in Ashgrove, Paddington, and Red Hill that have never been fully stripped down to bare timber will have at least some lead-based layers present.
This matters because sanding or dry scraping lead paint generates dust that is a genuine health risk. It also has disposal implications — you cannot just bag the debris and put it in the bin. Safe management typically means wet sanding or chemical stripping in affected areas, containing the work zone, and using appropriate PPE.
It is worth getting a lead paint test kit (available at most hardware stores for around $15-30) before anyone starts sanding. Or ask your painter to confirm how they assess for lead before the job starts. We check this on every older home we quote — it affects how we plan the prep and how long it takes.
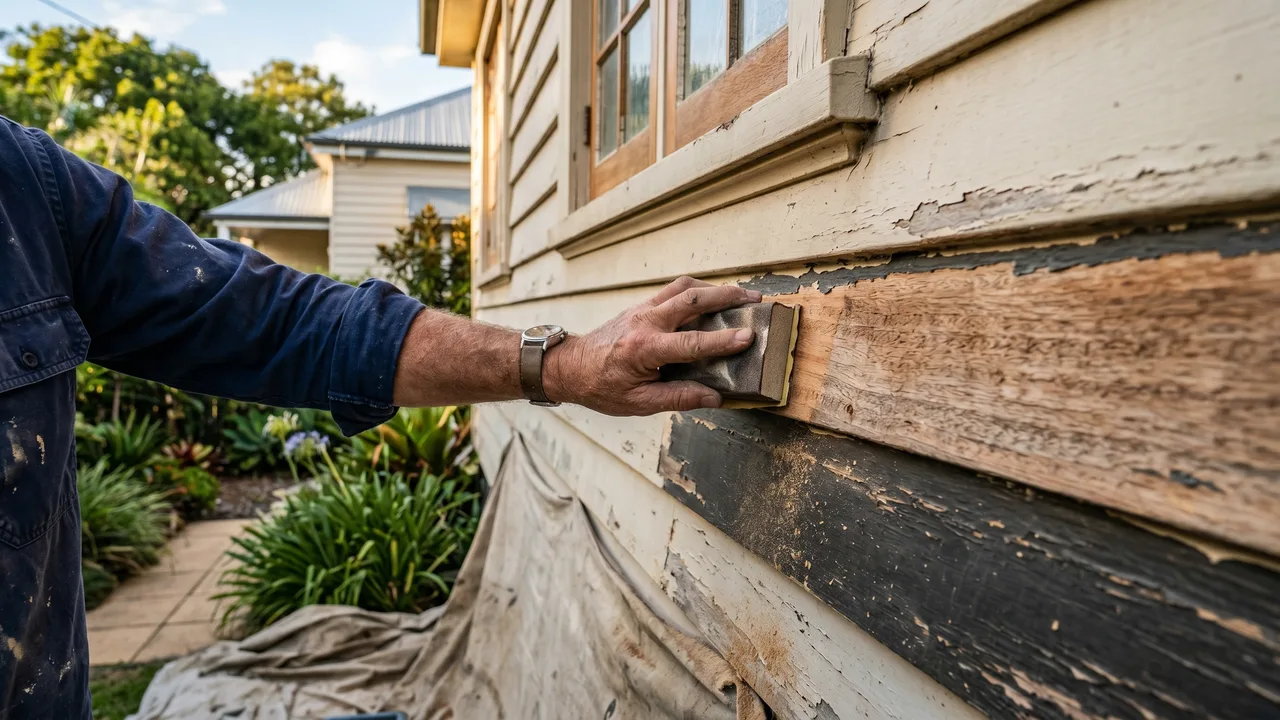
Scraping, Sanding, and Dealing with Failing Paint
Once the surface is clean and dry, you can properly assess what is sound and what needs to come off. The rule of thumb is this: if paint is peeling, cracking, or lifting at the edges, it is not a candidate for painting over. It needs to go.
Scraping by hand or with a hot air gun (used carefully to avoid scorching the timber) removes the worst of the failing sections. After scraping comes feather sanding — blending the edges of remaining paint back into the surrounding surface so you do not end up with visible ridges under the new coat. On a textured Queenslander exterior with weatherboards, this is slow, detailed work. It is not glamorous, but skipping it is what causes the "can see every edge" result people complain about after a cheap job.
On interior tongue-and-groove walls — common in older Ashgrove homes that have not been gyprock-lined — the grooves themselves often collect paint build-up that needs careful attention. Over-filling the grooves changes the character of the wall, so the approach here is conservative: clean and prepare rather than plaster over.
Timber Repairs, Filling, and Caulking
With failing paint removed, you will usually find some timber damage. Common issues include:
- Rotten sections, particularly at the base of weatherboards, around window frames, and anywhere water has been pooling
- Split or cracked boards, often on south-facing walls that dry out more slowly
- Missing or degraded putty around window panes
- Open joints between boards where the caulk has dried out and pulled away
Rotten timber needs to be either replaced or, where the damage is shallow, treated with an epoxy filler or hardener. There is a real trade-off here: epoxy repairs are faster and cheaper than board replacement, and they work well for minor surface rot. But if the rot has gone deep into the board, replacement is the more honest answer. Painting over deep rot just delays a more expensive fix.
Caulking joints before priming is important on any exterior Queenslander. A flexible, paintable caulk (not standard silicone, which paint will not bond to) seals the gaps that let moisture in. This step often gets skipped on quick jobs. It should not.
Priming: The Step That Holds Everything Together
A proper primer coat is not optional on bare or heavily sanded timber. It seals the surface, gives the topcoat something to bond to, and on repaired areas, evens out porosity so the finish coat dries consistently.
On Queenslanders, an oil-based or alkyd primer is often preferred for exterior timber, particularly for heavily weathered boards or where there is a mix of bare timber and painted sections. Water-based primers have improved significantly and work well on sound, lightly sanded surfaces. The choice depends on the condition of the timber and what topcoat is going over it.
Spot priming bare areas and repairs is the minimum. A full primer coat across the entire exterior is the better approach when the existing paint is old, uneven in sheen, or you are making a significant colour change.
A Realistic Closing Thought
If you are getting quotes for a Queenslander repaint and one comes in dramatically lower than the others, ask specifically how many days of prep they have allowed. Prep on an older character home in the Inner West typically runs two to four days before painting begins — sometimes more on a full two-storey exterior with lots of fretwork and detail. A quote that assumes one morning of prep is not the same job.
That is not a reason to be suspicious of every affordable quote. It is a reason to ask the right question. Any painter confident in their work will be happy to explain their prep process in plain terms. If the answer is vague, that tells you something.
The homes in Ashgrove, Bardon, Paddington and across the Inner West are genuinely worth doing properly. They have lasted a hundred years because the people who built them and maintained them did not cut corners. A repaint that respects that history starts well before the first tin of paint is opened.
If you want to talk through what prep your specific home needs before committing to anything, give us a call. We are happy to walk through it with you.
Quick answers